

Single serving Pressure cooker Mason jar steel cut oats: throw them in an electric pressure cooker while you are getting ready the next morning, and you’ll be able to enjoy those chewy and healthy oats on the fly. Send your family off on their day with a substantial and delicious breakfast.
This post is part of an original TIDBITS recipe, first seen HERE on tidbits-cami.com.
I’ve been on the edge of my seat and burning the midnight oil to get this post to you. I am that excited about it!
First, let me ask you a question. Have you ever tried steel cut oats? Do you understand what they are?
They are basically oats that haven’t been rolled and pressed yet and turned into rolled or instant oats. Which means, they make your body work harder to digest, are less processed, very filling and so so good for you.
So why do we always eat oatmeal from pressed oats?
From my previous experience, it’s because steel cut oats are a pain to cook.
Until now, my friends. Until now.
The first time I tried to boil steel cut oats, it took 40 minutes. When my husband crunched into the oats that just haaaad to be done by now, they were nice and crunchy still. That was the last time I made steel cut oats.
Until now, my friends. Until now.
Now, all you do is throw some oats in a jar, add your favorite mix-ins, add water, set in pressure cooker, push the magic button, hop in the shower, apply your make-up, do your hair, and voila! Chewy, fully cooked, to-die-for steel cut oats are waiting and ready for you!
(Okay, if I’m being honest, the oats are done long before I’ve finished making myself presentable. I could use a magic button for that task – can I get an amen sista!).
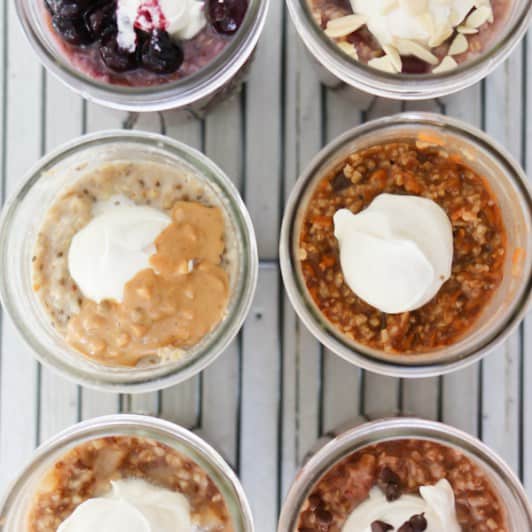
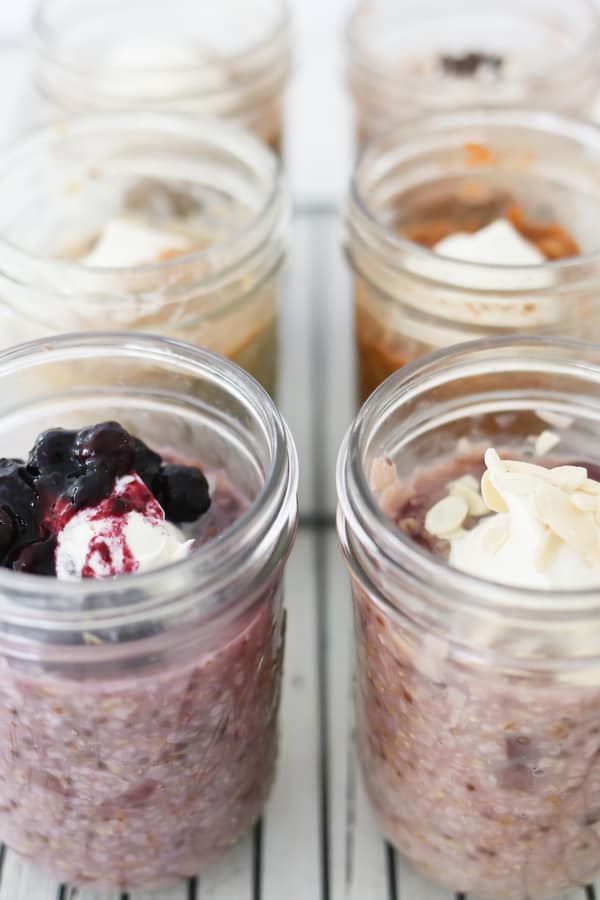
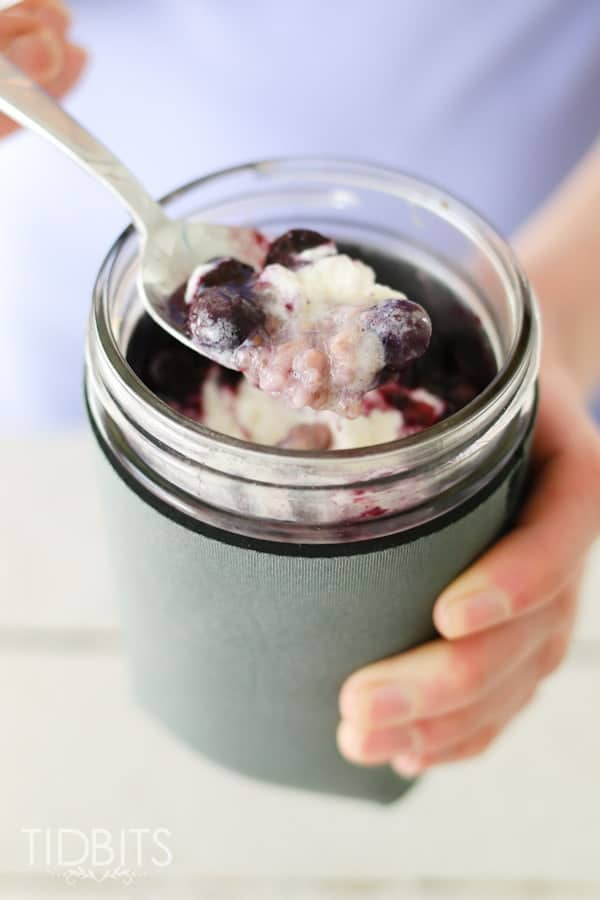
Then you throw on a frozen whipped cream dollop, some garnish, and put your mason jar in a nice Mason Jar Jacket, and you are on your way to a breakfast of champions.
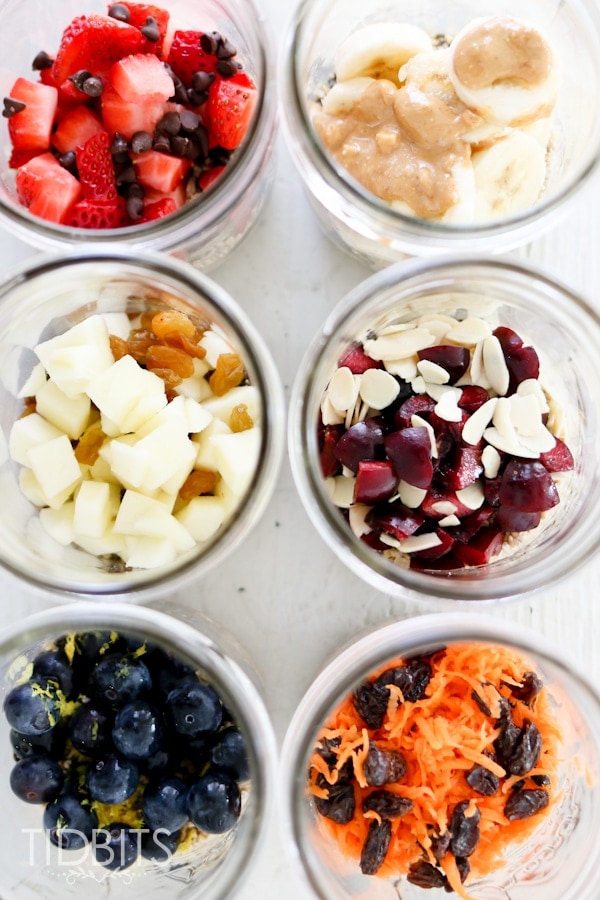
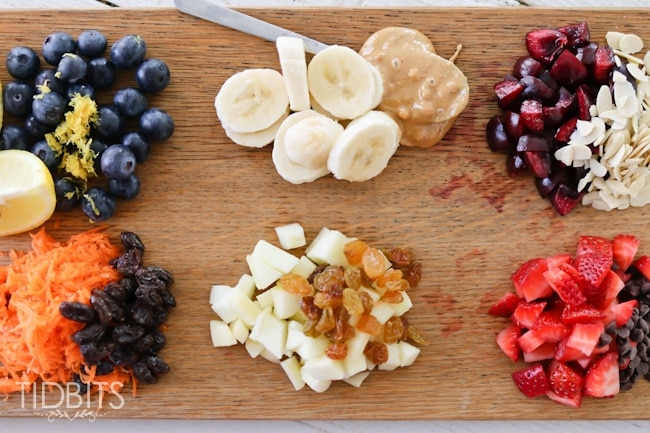
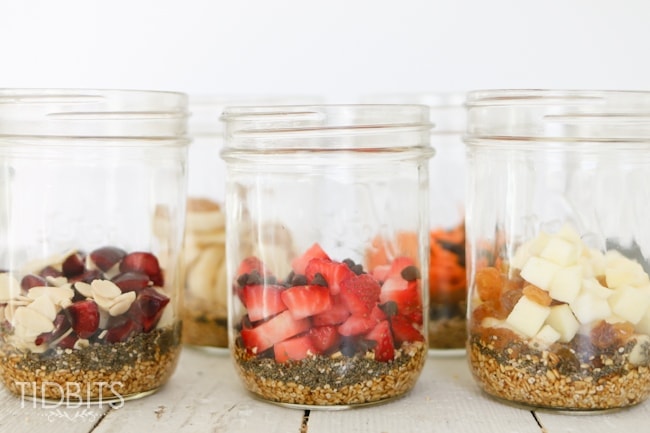
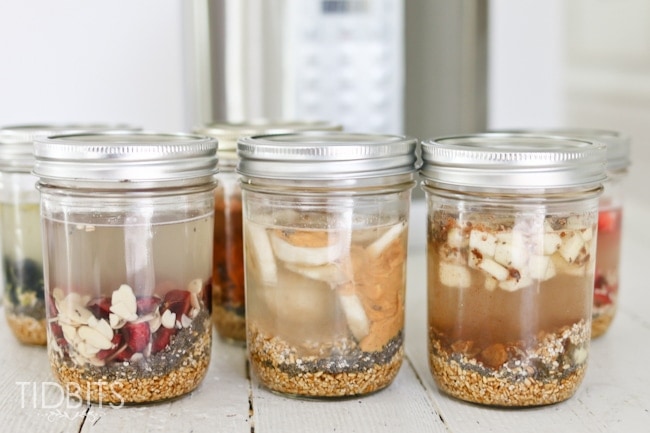
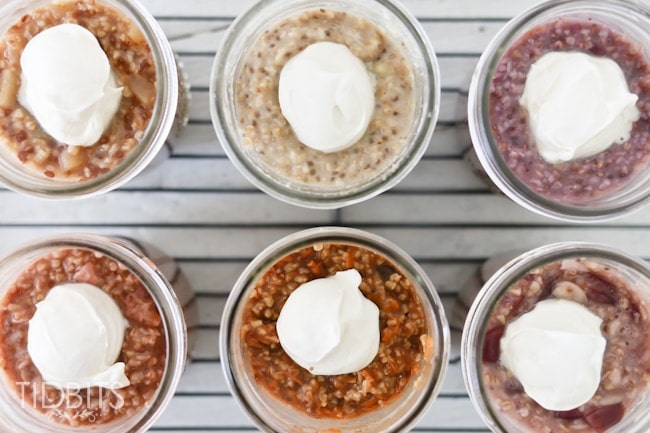
The potential flavor varieties are endless, but I’ll show you how to throw together some of our favorites. As we walk through the recipe, I’ll talk about what I call “The Base Recipe”. This is what you’ll pretty much put into every jar or serving of Mason Jar Steel Cut Oats. Then I’ll address “The Extra’s”, which is what you can add, mix or match to make 6 different varieties. Feel free to experiment with “The Extra’s” to come up with your own family favorites.
*Please also note, one 6 Quart Pressure Cooker will typically fit 3 Pint size jars. We are using 1 jar for an adult size serving or you can split it to serve 2 kids.
Process:
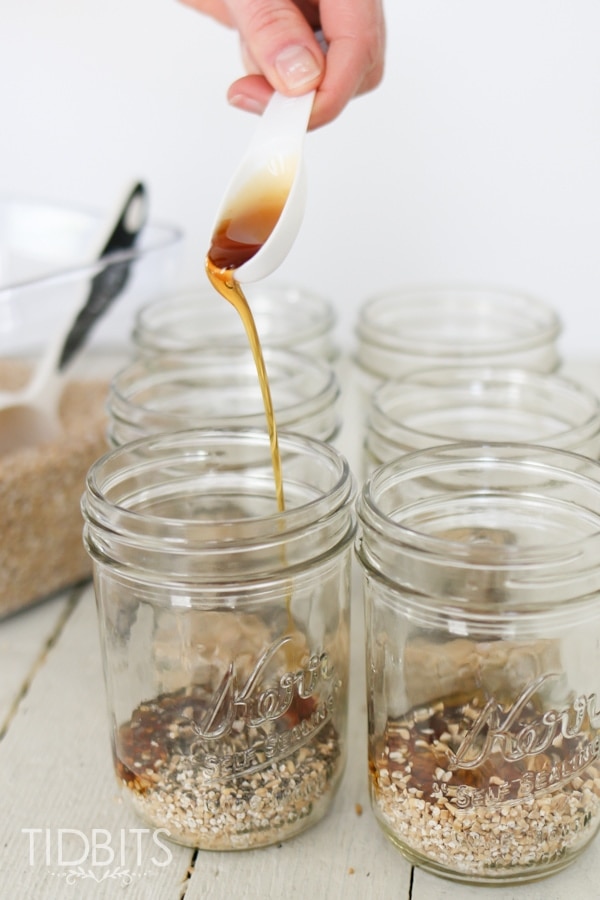
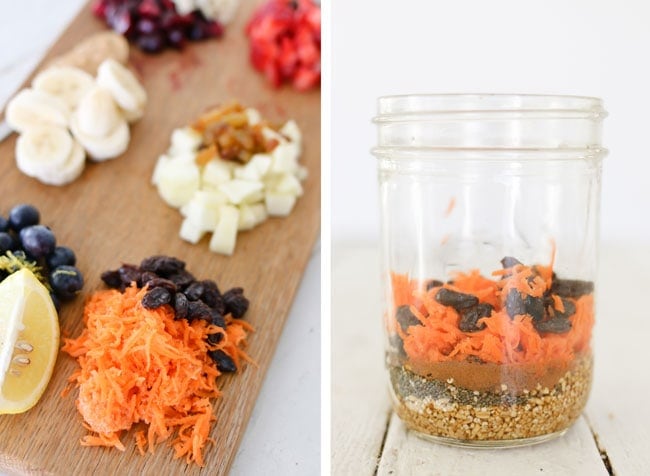
First you add 1/4 Cup of Steel Cut Oats to each pint size jar.

Then prep approximately a half cup of extras for each jar. I will get into our favorite combos in just a minute 😉
Add 2 Tablespoons of pure maple syrup or honey to each jar.
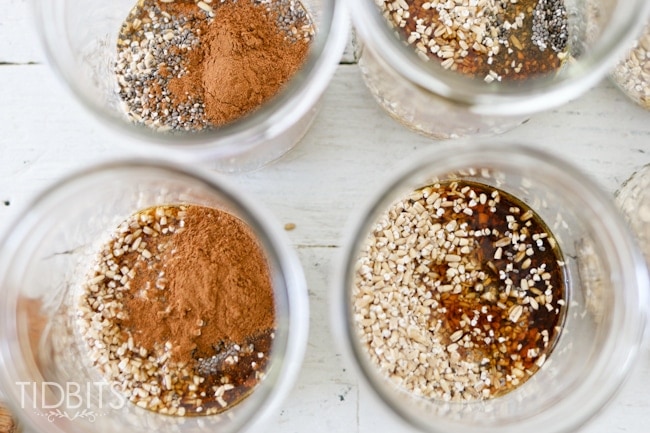
As well as 1-2 teaspoons of Chia Seeds and a pinch of salt, and any other spices that might go well with your extras. You can certainly leave the Chia Seeds out, but you will want to decrease the water a bit if you do.
Then you are going to throw in your extras.
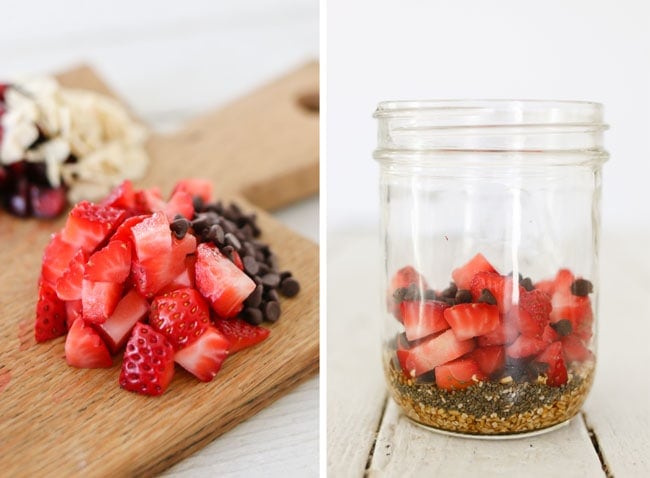
Chocolate Covered Strawberry Oats
- 1/2 Cup Strawberries
- 1 Tablespoon of mini chocolate chips (milk or semi-sweet)
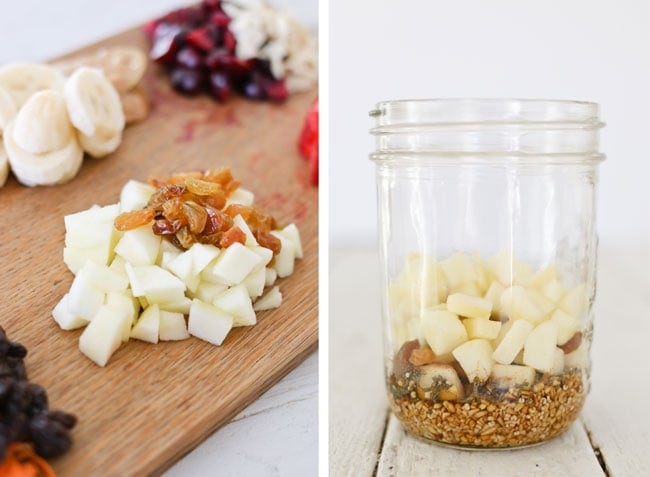
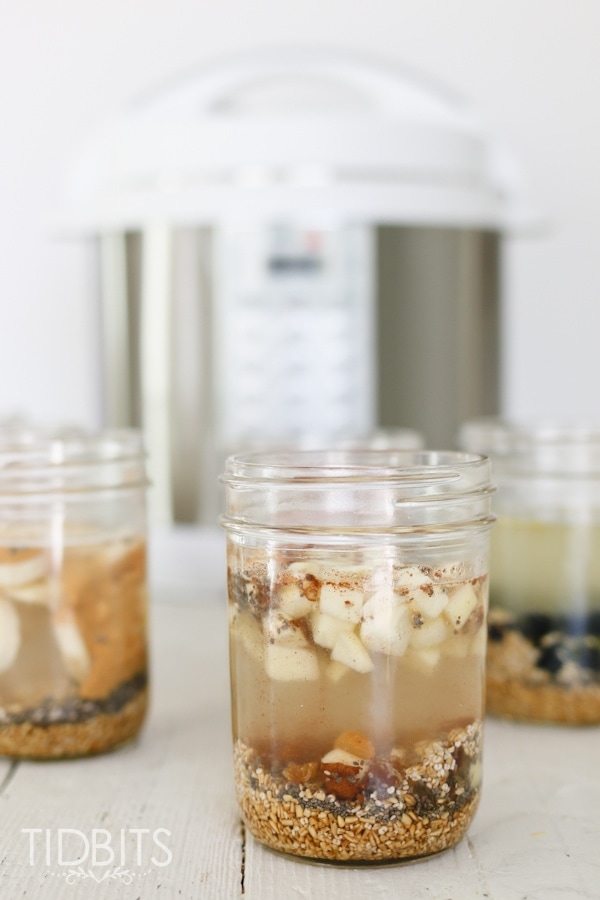
Apple Cinnamon Oats
- 1/2 Cup diced apples
- 2 Tablespoons of golden raisins
- 3/4 Teaspoon cinnomon
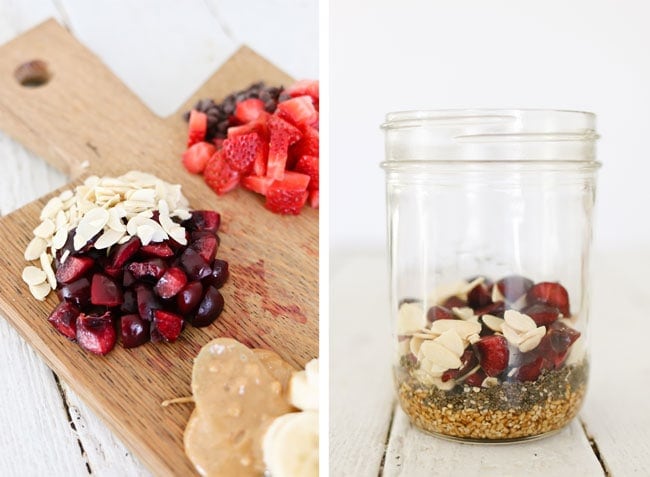
Cherry Almond Pie Oats
- 1/2 Cup half cherries
- 2 Tablespoons sliced or slivered almonds
- 1/4 Teaspoon almond extract
Carrot Cake Oats
- 1/2 Cup finely shredded carrots
- 2 Tablespoons raisins
- 3/4 Teaspoon cinnamon
- 1/4 Teaspoon pumpkin pie spice
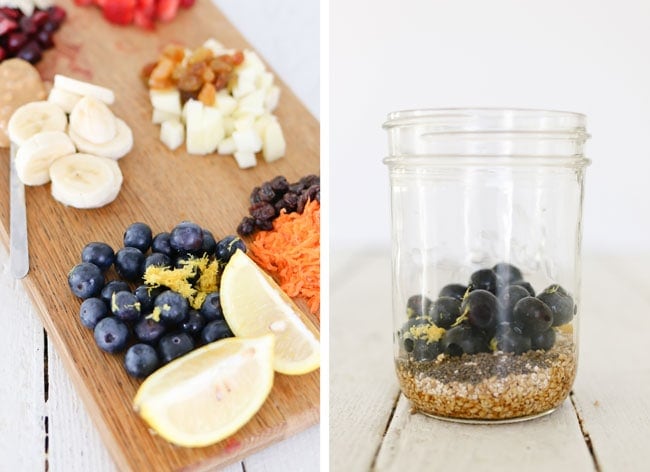
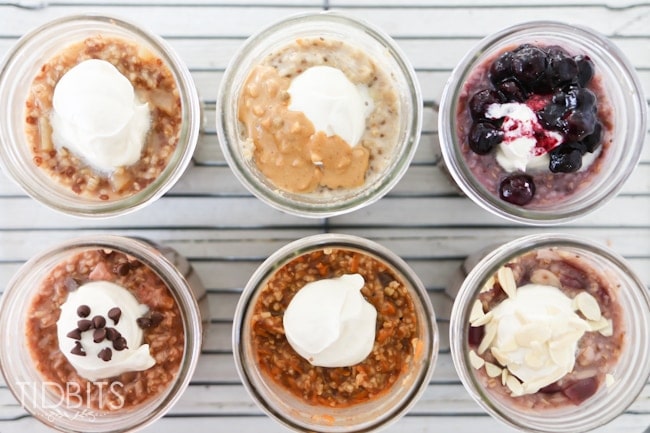
Lemon Blueberry Oats
- Zest and juice of 1 lemon
- 1/2 Cup blueberries
- Optional: While the oatmeal is cooking, place 1 cup of frozen blueberries in a saucepan. Add 2 Tablespoons of water and sprinkle with ½ teaspoon of cornstarch. Stir to combine. Bring to a boil and simmer until thickened and syrup like. When oatmeal is done, stir and then swirl in a scoop of the blueberry syrup. Yum!
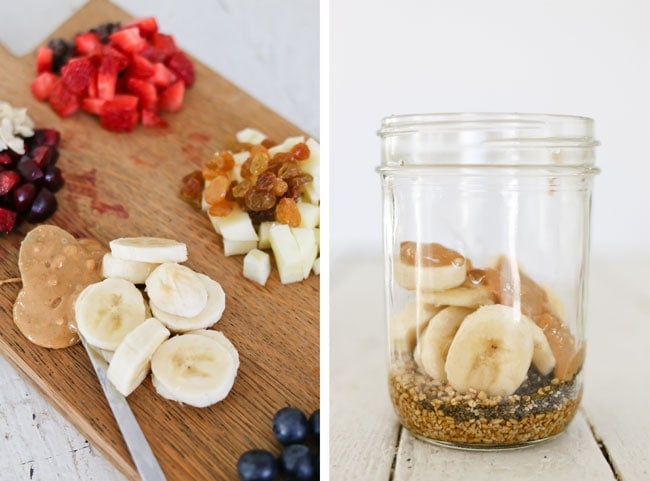
Peanut Butter Banana Oats
- 1/2 Cup chopped bananas
- 1 Tablespoon peanut butter
- Substitute maple syrup with 2 Tablespoon of honey
Next, you will pour in hot or room temperature tap water, leaving 1 1/2 inches of headspace.
Screw the lids on tightly and give your jar a very thorough shake. The chia seeds can be hard to break up so shake until those look evenly distributed. Unscrew the lids and again tighten just until resistance is met. DO NOT PUT THE LIDS ON TIGHT. A loose fitting lid is important for preventing too much pressure developing in the jar.
Note: to prepare the night before, place oats, sweetener, salt and chia seeds in a jar and leave at room temperature. In the morning simply add the extras and water.
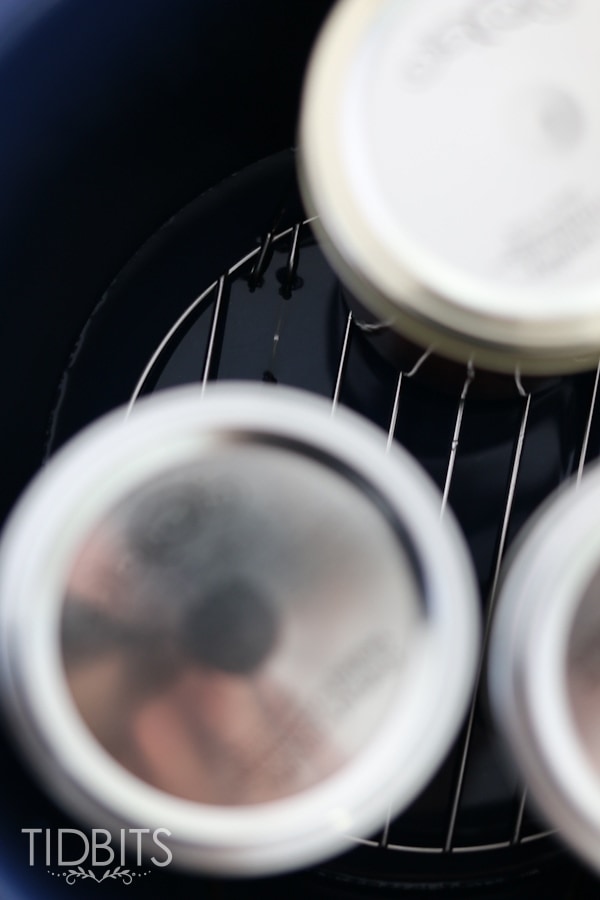
Place a short rack on the bottom of the pressure cooker and pour 1 cup of water inside and place 3 pint size jars inside the pressure cooker.
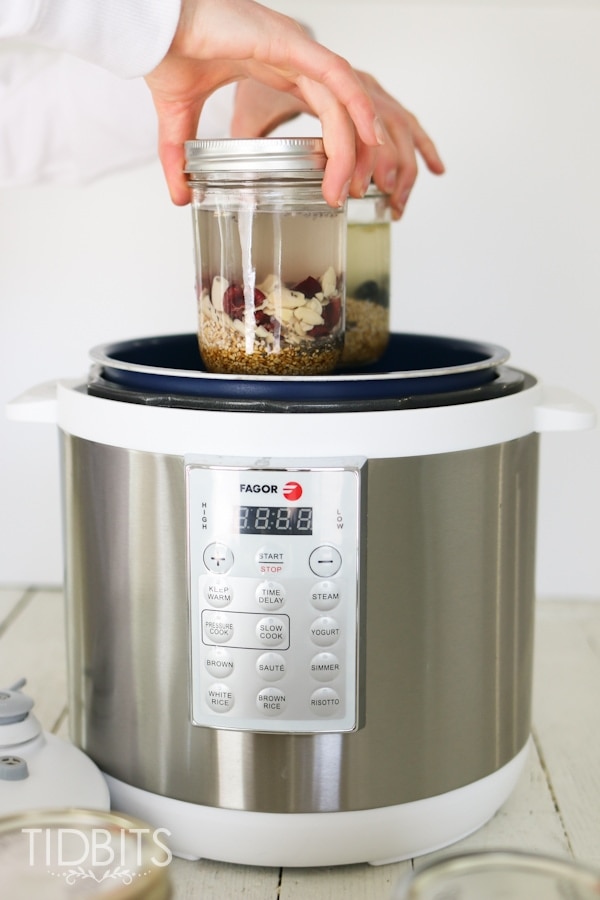
If the rack is too tall, the jars will not fit inside with the pressure cooker lid on, but you certainly do not want to place the jars directly on the pot.
I’m using one of my favorite pressure cookers here, the White Fagor Lux model, but any pressure cooker model will do.
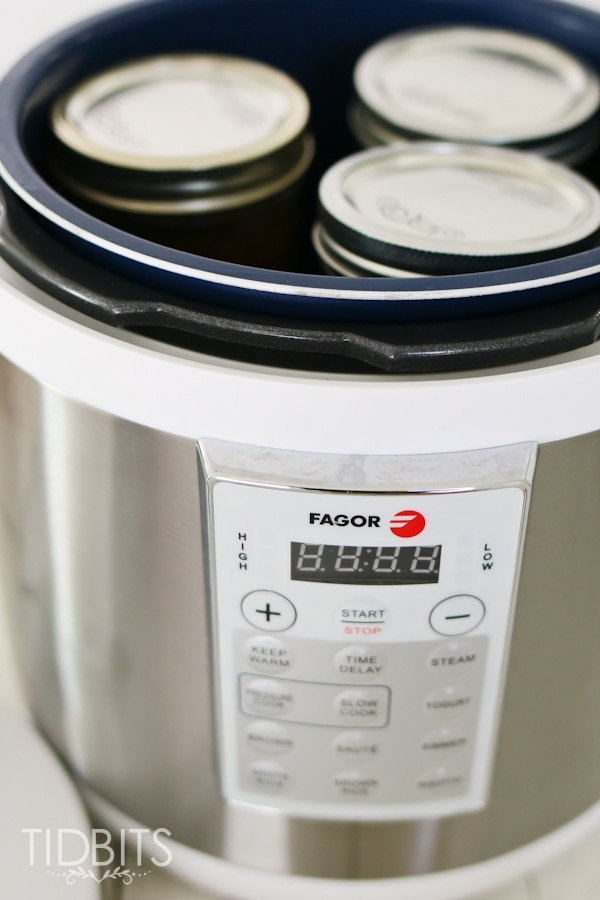
Now you will secure the lid on your pressure cooker, select a high pressure and set the timer for 20 minutes. This means, once it comes up to pressure, it will begin the 20 minutes of cooking.
When the beep sounds, turn off the pressure cooker and let pressure release naturally for 10 minutes, then release any remaining pressure. Can also use a full natural release if you’re not in a hurry. When the valve drops, remove the lid. Remove the jars from the pot and place on a cooling rack or hot pad.
Warning: The jars will be very hot! If the jars contents are in motion (boiling), allow the oats to cool for another 10-20 minutes before removing the lid. Once the oats have settled, I either wrap a towel around the jar to open it or use two silicone hot pads to safely unscrew the lid.
Then you can give the oats a good stir and top with a Frozen Whipped Cream Dollop (or simply pour in milk or cream – but the dollop is just heavenly).
Then you can choose to garnish with extra toppings if you like.
And that is all there is to it! It might seem like a lot at first, but once you have it down it just might become your go-to breakfast.
Be sure to check out Pressure Cooker Mason Jar Steel Cut Oats – Bakery Edition.
Enjoy!
PrintPressure Cooker Mason Jar Steel Cut Oats

Oats can be prepared first thing in the morning or to make breakfast completely stress free, prepare them the night before! Just fill jar with oats, sweetener, chia seeds, salt and water, place inside prepared pot and set timer to start cooking oats an hour before you plan on eating them. Add toppings and just like that, a true breakfast of champions!
- Prep Time: 5 mins
- Cook Time: 20 mins
- Total Time: 45 mins
- Yield: 1 serving 1x
- Category: Breakfast
- Method: Pressure Cooker
- Cuisine: American
Ingredients
- 1/4 cup steel cut oats
- 2 Tablespoons pure maple syrup
- 1–2 Teaspoons chia seeds
- Pinch of salt
- ½ cup of the extras (fresh or dried fruit, nuts, coconut, spices, etc)
- About 1 cup hot or room temperature tap water
Instructions
- Add oats, syrup, chia seeds, salt and the extras into a pint size mason jar. Add water, leaving 1 1/2 inches of headspace.
- Shake until everything is well distributed and the chia seeds aren’t clumping together.
- Unscrew the lid and again tighten just until the lid meets resistance. This is important, a tight lid may create too much pressure in the jar and cause it to break.
- Place a short rack in the bottom of the pot.
- Pour 1 cup of water into the pressure cooking pot.
- Select high pressure and set the timer for 20 minutes.
- When the beep sounds, turn off the pressure cooker. Use a natural release for 10 minutes and then release any remaining pressure (can also allow a full natural release).
- When the valve drops, remove the lid.
- Remove the jars from the pot and place on a cooling rack or hot pad. Warning: Do not open the jars until contents have settled (no longer boiling)
- Carefully remove the lid (it may still be hot to the touch)
- Give the oats a good stir and top with a dollop of frozen whipped cream and garnish.
Notes
These oats cook best when there are 2-3 jars being cooked at the same time. If you only need 1 jar of oats, place 1-2 extra mason jars filled with water inside the pot while it cooks. Trust me on this one! 1 jar will come out undercooked if on its own. Mason jars can develop weak points over repeated use in both pressure cooking and canning. I suggest rotating jars often to decrease the rare chance of a jar breaking while cooking.
*Linking up to these parties, HERE.
*This post contains affiliate links. Thank you!


These are so great! I used my IP Duo 6 quart, and did three different flavors (apple cinnamon, blueberry, and banana peanut butter). I read Christina’s comment here, and decided to just lay foil across the tops of the jars instead of using lids. No problems and no boil overs. Thank you for the recipe!
Katie, Yep, the foil is a great idea. I’m glad you loved them! My husband loves taking them on the go.
I’ve put the jars in the pot without a rack (used about 2 c water in the bottom) and they did fine. I have a 6 qt and can fit 4 small mouth jars inside at once. Is there a problem with not using a rack? It put my jars to high in the pot. Thank you.
Leslie, I would be very hesitant to do it without a rack. The rattling would cause the jar to break (worst case scenario). The rack I have is very close to the bottom of the pot. Is yours higher? It seems my newer Instant Pot came with a taller rack.
How do I try this in a stove top pressure cooker?
Tera, I’m not a great person to ask that question since mine sat in my cupboards for 10 years until I threw it away once the electric versions came around. Sorry!
Tried the carrot cake and apple cinnamon (both delicious!) and created a hybrid due to what I had in hand. Frozen cherries chopped into quarters and 1-2 teaspoons cocoa nibs – it was delicious – chic cherry flavour but no extra calories from choc chips!
Robyn, That sounds amazing! I use cacao nibs daily in my smoothies, I love them even plain. Definitely an acquired taste though!
I would just like to warn people to consult their specific pot brand for cooking time and pressure settings in jars. This time and pressure combo of 20 mins on high was way too much for my pot. I suffered 2nd degree burns on my face, chest and right arm, and 1st degree burns on my left arm and hip when a jar exploded from pressure. My remaining 3 jars were still warm/hot 4 HOURS later, and the contents inside were burned, and the recipe was followed exactly. It was definitely not safe to open after 20 minutes of rest. Hours were likely needed. I am so glad I didn’t have a small child nearby when it exploded, as it exploded over my entire kitchen and would have been much more severe on baby skin!!
Oh my goodness Christina, that’s awful. I’m going to email you to get more details so I can update my post so this doesn’t happen again.
After emailing Christina, I made an emphasis in the recipe to stress only cooking these with a loose fitting lid. One could even use a piece of foil over the jar and put the ring over that. Poke holes in the top of the foil and this will allow for excess pressure to easily release from the jar. Thank you Christina for sharing your experience so I could stress the importance of the loose lid!
Have you tried this with smaller jars? What about foil as a lid?
I just made a few getting rid of some frozen fruit I had, the frozen fruit worked real well.
Thank you for the recipe!!
Maddi, I suspect that smaller jars would lead to a lot of over flow. I have used foil as a lid and it works pretty good. I had some overflow with the foil, but not much. Good to know the frozen fruit worked well! When I tried it I suspected it slowed down the cook time, but now I want to try it again!
These look amazing and I’m dying to give them a try! Do they need proper 2 part canning lids or are they just regular ones? Thanks 🙂
Alison, Regular lids are great. They aren’t meant for sealing so they don’t have to be anything special.